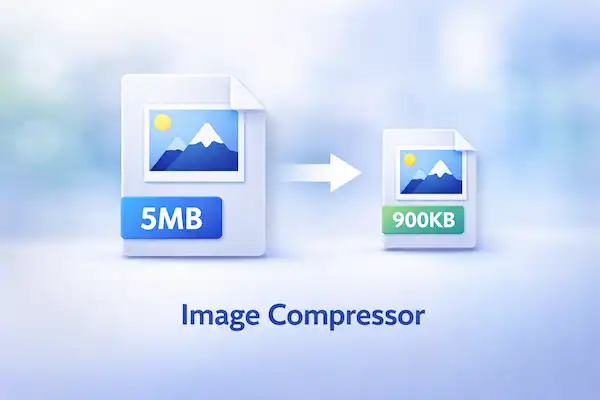
A rejected upload often has a simple cause: the photo is larger than the portal allows. The safe response is not to keep taking screenshots until the file becomes blurry. Start from the original and reduce dimensions, format or quality in a controlled sequence.
For most application photos, keep the required aspect ratio, resize only as far as the portal permits, export a fresh JPEG or WebP when accepted, and inspect small text, facial detail and edges at normal zoom before upload.
Image Compressor Studio lets you compare the original and compressed file in your browser and target a practical file size.
Quick answer
Copy the portal's accepted format, maximum size and pixel requirements into a note. Compress a duplicate, not the only original. If the first export misses the limit, lower dimensions or quality one step at a time and recheck the result.
Start with the exact job you need to complete. A useful result is tied to a real application, meeting, agreement, trip, electricity purchase, job application, image export or academic record. Write down the destination, deadline and acceptance rule before changing any settings.
Inputs to verify
| Input or decision | Evidence to keep |
|---|---|
| Maximum file size | The current upload instruction, including KB or MB |
| Accepted format | JPEG, PNG, WebP or another format named by the portal |
| Required dimensions | Minimum, maximum or exact width and height |
| Content that must stay clear | Face, signature, stamp, document text or product detail |
| Original file | An unchanged copy stored separately |
KB and MB are not interchangeable, and a portal may enforce both file size and pixel dimensions. Check both before exporting.
Step-by-step workflow
- Open the receiving portal and record its current upload rules.
- Duplicate the original image and open the copy in the compressor.
- Choose the accepted format and preserve the required aspect ratio.
- Reduce dimensions or quality gradually while watching the estimated output size.
- Download, reopen and inspect the exported image, then upload only the verified copy.
Keep the original file or record unchanged. Work on a copy, label the output with the date and purpose, and compare it with the source before sending or uploading it. This makes mistakes reversible and gives another person enough context to review the decision.
Choose the right compression decision
Photos usually tolerate moderate lossy compression better than scans containing small text, line art or signatures. PNG can preserve sharp edges and transparency but may be larger. JPEG is widely accepted for photos but does not preserve transparency. WebP can be efficient, although the portal must explicitly accept it.
Do not judge quality only from the preview thumbnail. Reopen the downloaded file, confirm its actual size and dimensions, and zoom to the part that matters. A file below the limit is still unusable if the passport number, signature or face has become unclear.
If the portal rejects a compliant-looking file, check the filename, extension, colour mode and orientation. Retaking a screenshot can strip useful detail and metadata without solving the real rule.
Checks before you rely on the result
- The exported file is below the stated limit, not merely close to it.
- Width, height and aspect ratio satisfy the portal rule.
- Text, faces, stamps and signatures remain readable.
- The file extension matches the actual exported format.
- The unchanged original remains available for another attempt.
Treat any estimate as a planning aid. Fees, entry rules, grading scales, document clauses, upload limits and utility deductions can vary by provider, country and date. The receiving institution or official authority remains the final source of truth.
Create a review trail
Record the source, date and version beside the result. If another person reviews the work, ask them to check the inputs and acceptance rule rather than only the final appearance. Save their correction separately so the original decision remains traceable.
When the receiving portal, authority, employer, utility or institution rejects the output, keep the rejection message and compare it with the rule you recorded. Correct the identified mismatch first. Repeating the same export with random settings makes the problem harder to diagnose and can create conflicting copies.
Privacy and safety
Use the minimum information needed. Do not paste identity numbers, private commercial terms, academic records or personal contact details into an untrusted service. AfroTools workflows described here are designed for practical preparation, but you should still review the page notice and export before sharing it.
Application images may contain identity information. Prefer local processing, remove unnecessary copies from shared devices, and upload only through the official portal.
Open the AfroTools workflow
The studio can batch files, but verify every exported item separately because different photographs respond differently to the same setting.
The tool organises your inputs and produces a planning output. It does not guarantee acceptance, legal enforceability, admission, visa approval, electricity supply, employment or a particular grade.
Sources and verification
These sources explain the underlying standard or decision process. Reopen the live source and the relevant authority or institution before acting because requirements can change.
- MDN Web Docs, Canvas toBlob method and quality controls
- web.dev, image formats and lossy versus lossless compression
Related AfroTools guides
Frequently asked questions
It can. Quality compression and resizing are separate controls, so record the required pixels and check the downloaded result.
Use a format accepted by the destination. JPEG is often practical for photos; PNG is useful for sharp graphics or transparency but can be larger.
Keep the original until the application is accepted and safely archived. You may need a different export later.